My most recent project has been a ridiculous amount of fun: setting up a bare-metal VM homelab! Before diving into the details, let's quickly define some key terms.
What Are Virtual Machines and Bare-Metal Hypervisors?
A virtual machine (VM) is a virtualized computer that runs within physical hardware. It uses a pre-defined amount of the host's resources without taking them all up. For example, on my MacBook Pro, I can set up a Windows VM and use it as if it were its own computer on my local network. The VM operates independently of the host operating system (macOS in this case), existing as an isolated environment (known as the guest OS).
To run VMs, you need software called a hypervisor, which manages VMs and their configurations. It lets you allocate resources, create or delete entire VMs, and save snapshots of their states. There are two types of hypervisors:
- 1. Type 2 Hypervisor: Runs on top of a host operating system. For example, software like VirtualBox or VMware Workstation allow you to set up VMs through a user-friendly interface.
- 2. Type 1 Hypervisor (Bare-Metal Hypervisor): Runs directly on hardware, bypassing the need for a host OS. This provides better performance and more control over the system but requires more technical knowledge to set up.
While Type 2 hypervisors are accessible and user-friendly, Type 1 hypervisors excel in resource efficiency and configurability, making them ideal for homelab projects like mine.
Why Set Up a VM Homelab?
Virtual machines offer numerous benefits:
- - Maximized hardware usage: One physical machine can host multiple VMs.
- - Cost efficiency: Easier to spin up new VMs than buy additional hardware.
- - Safe experimentation: Snapshots make it easy to revert to a stable state after mistakes.
For my use case, I needed a VM homelab that could:
- - Scale with growing demands for RAM and storage.
- - Be accessed remotely, supporting a flexible, "digital nomad" lifestyle.
I'm using this homelab to set up learning environments and assess bug bounty targets—tasks that exceed the hardware limitations of my MacBook—while also gaining hands-on experience with novel computer hardware.
My Homelab Setup

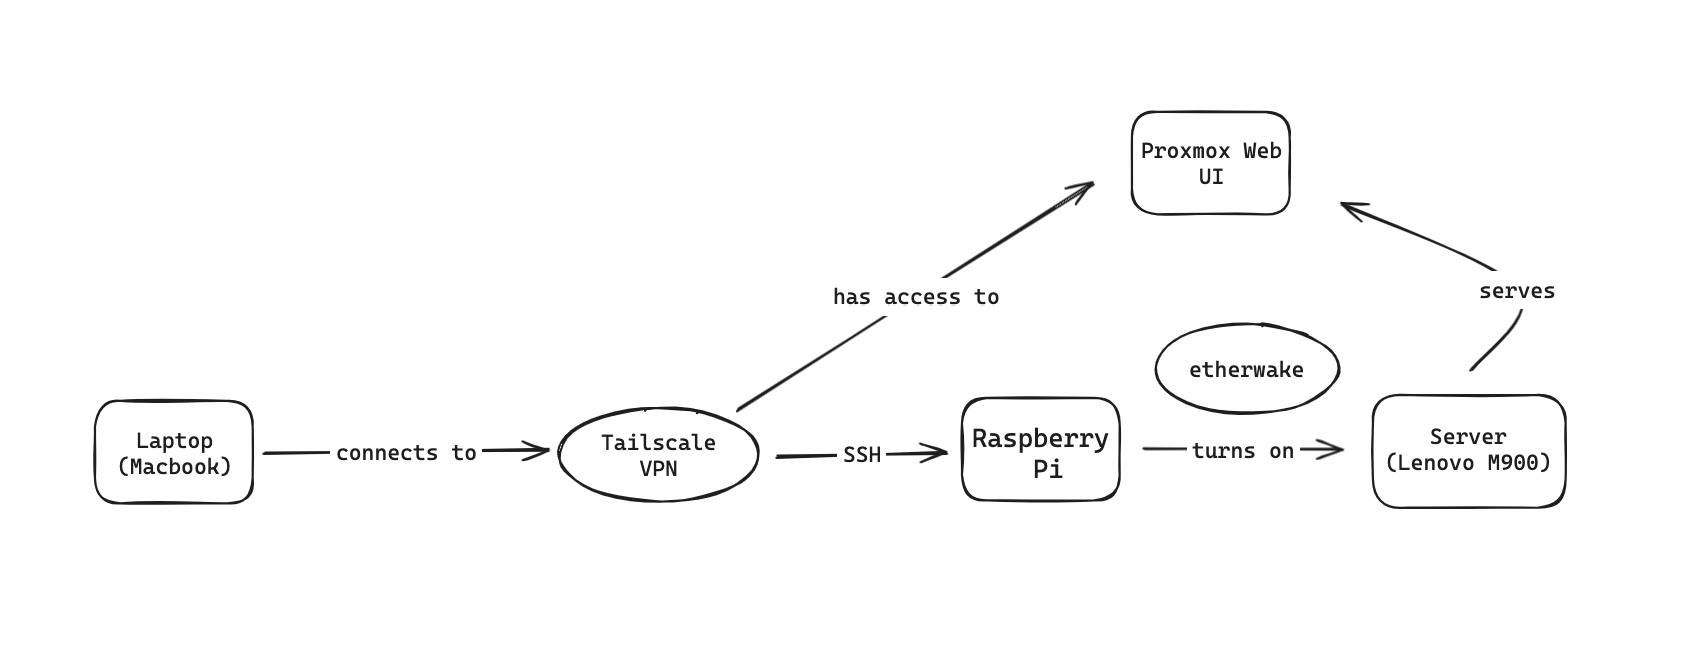
Here's the basic design of my homelab:
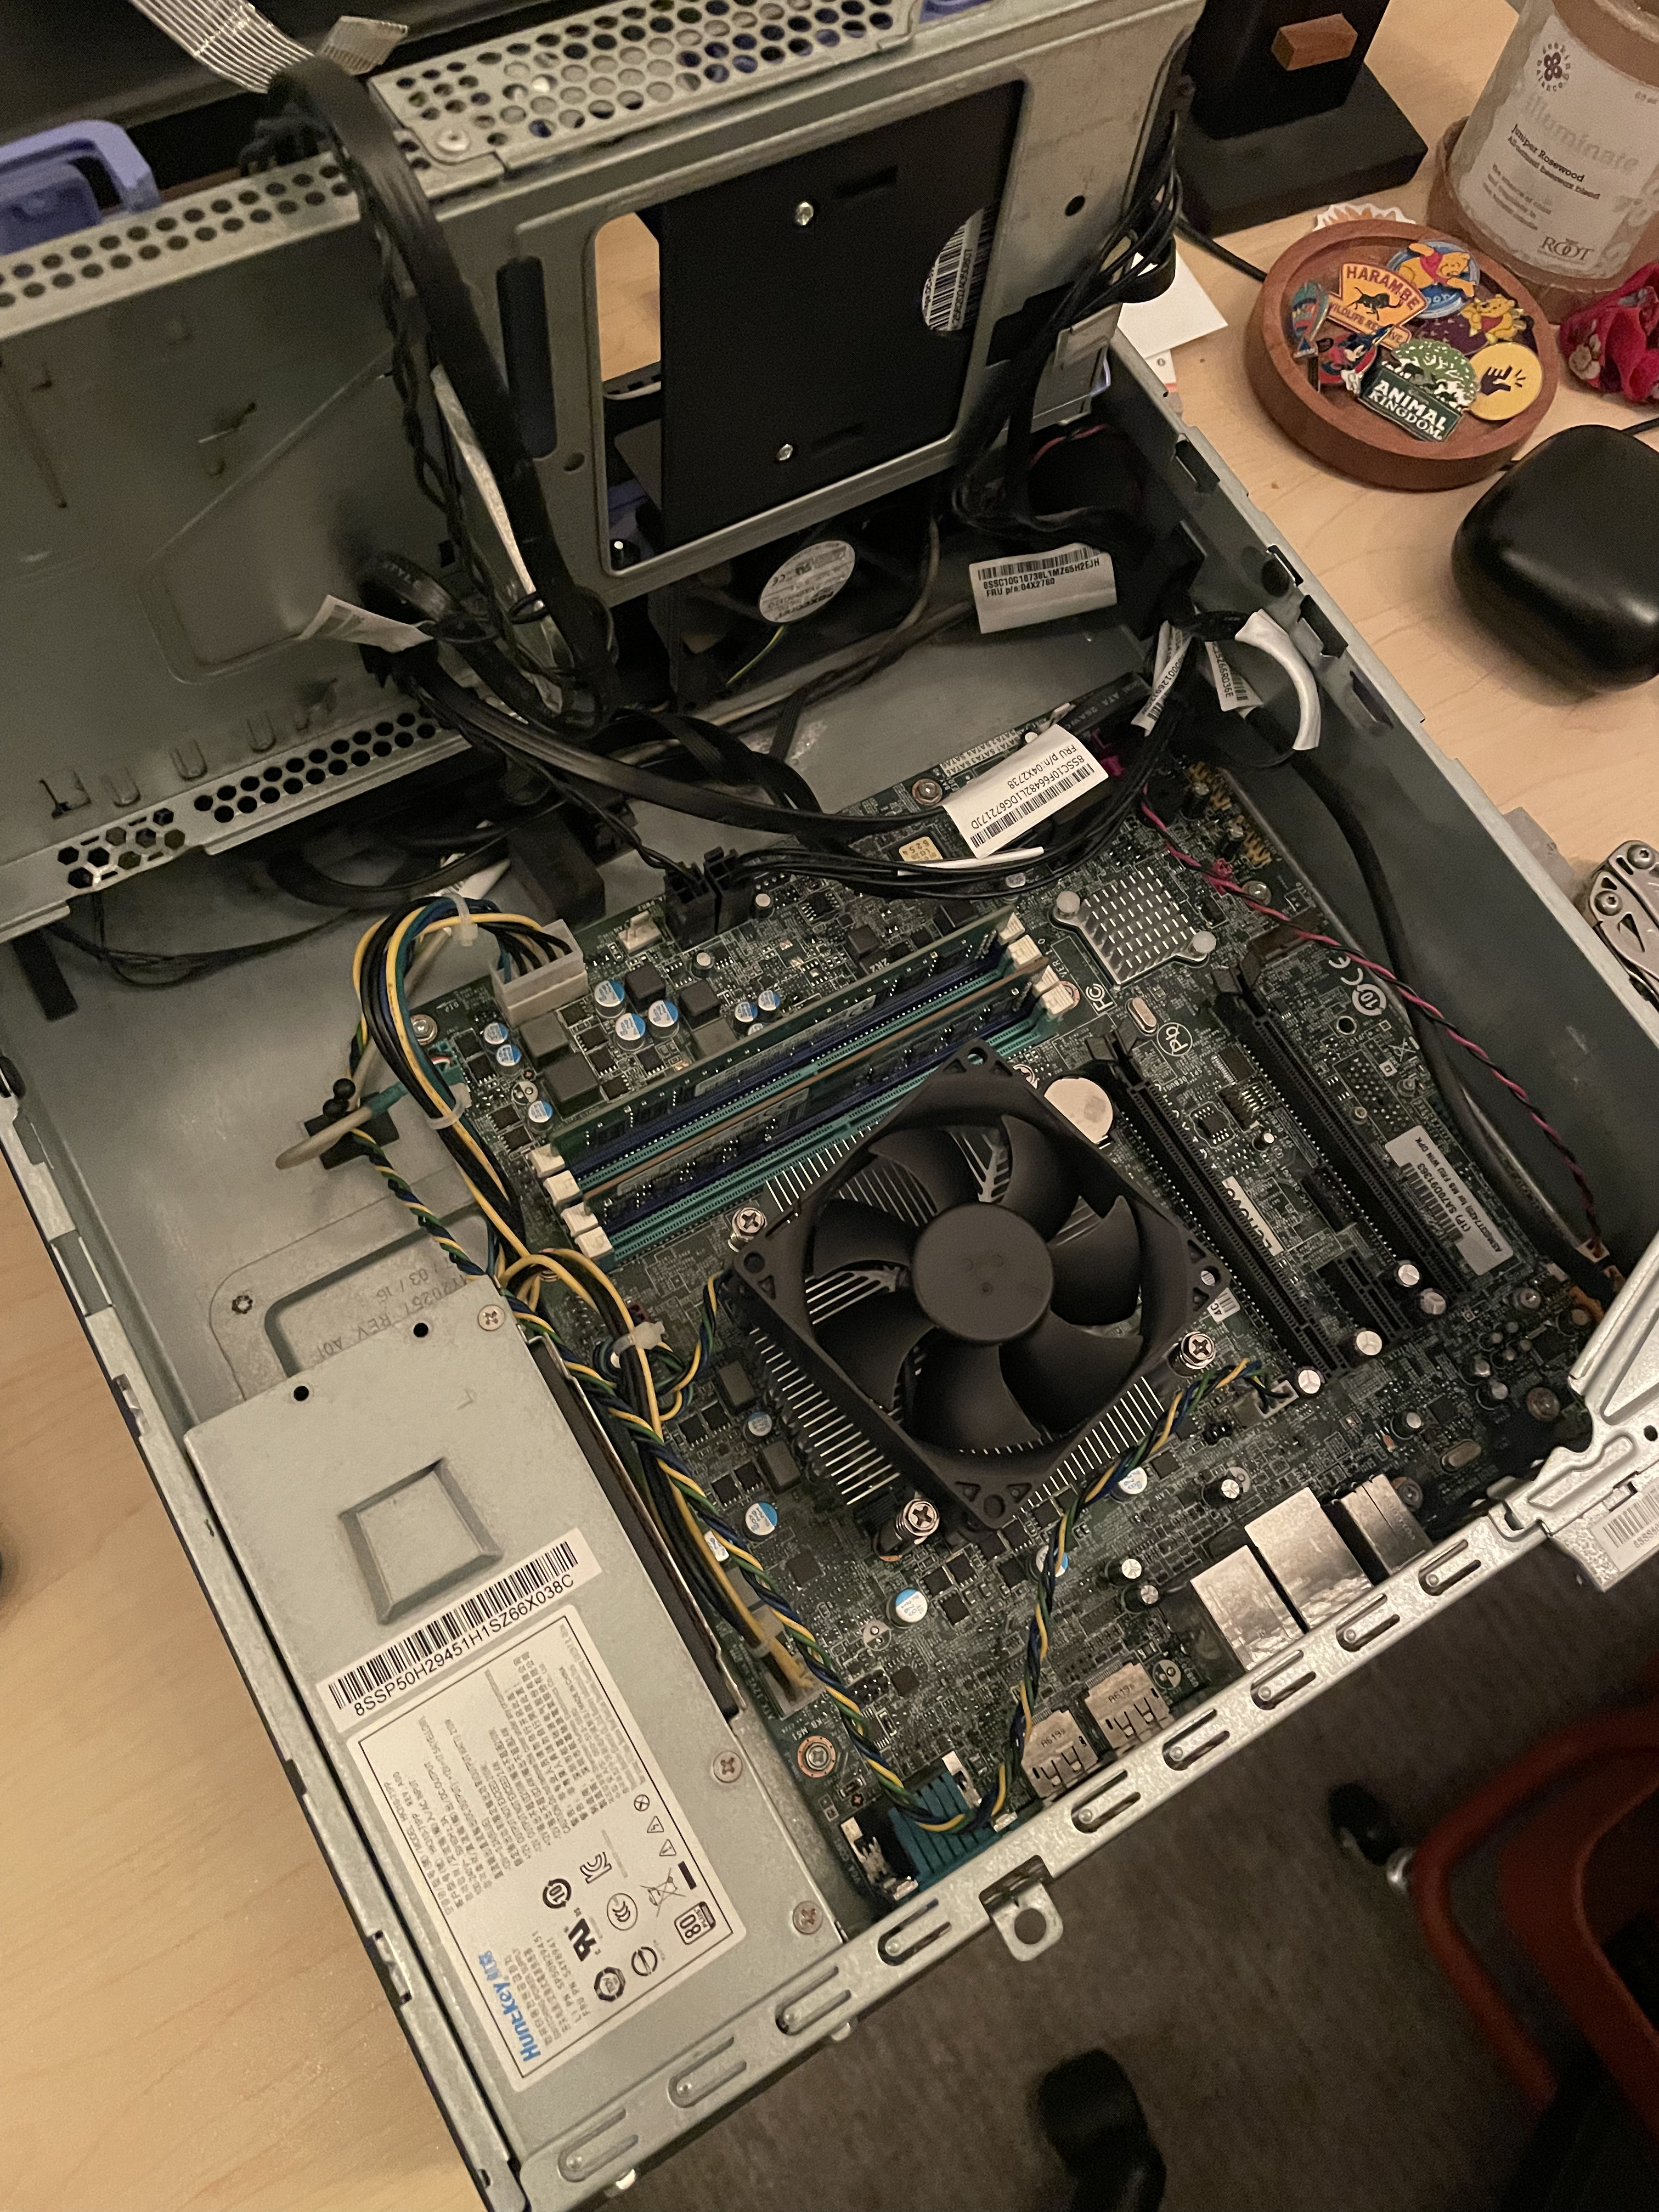
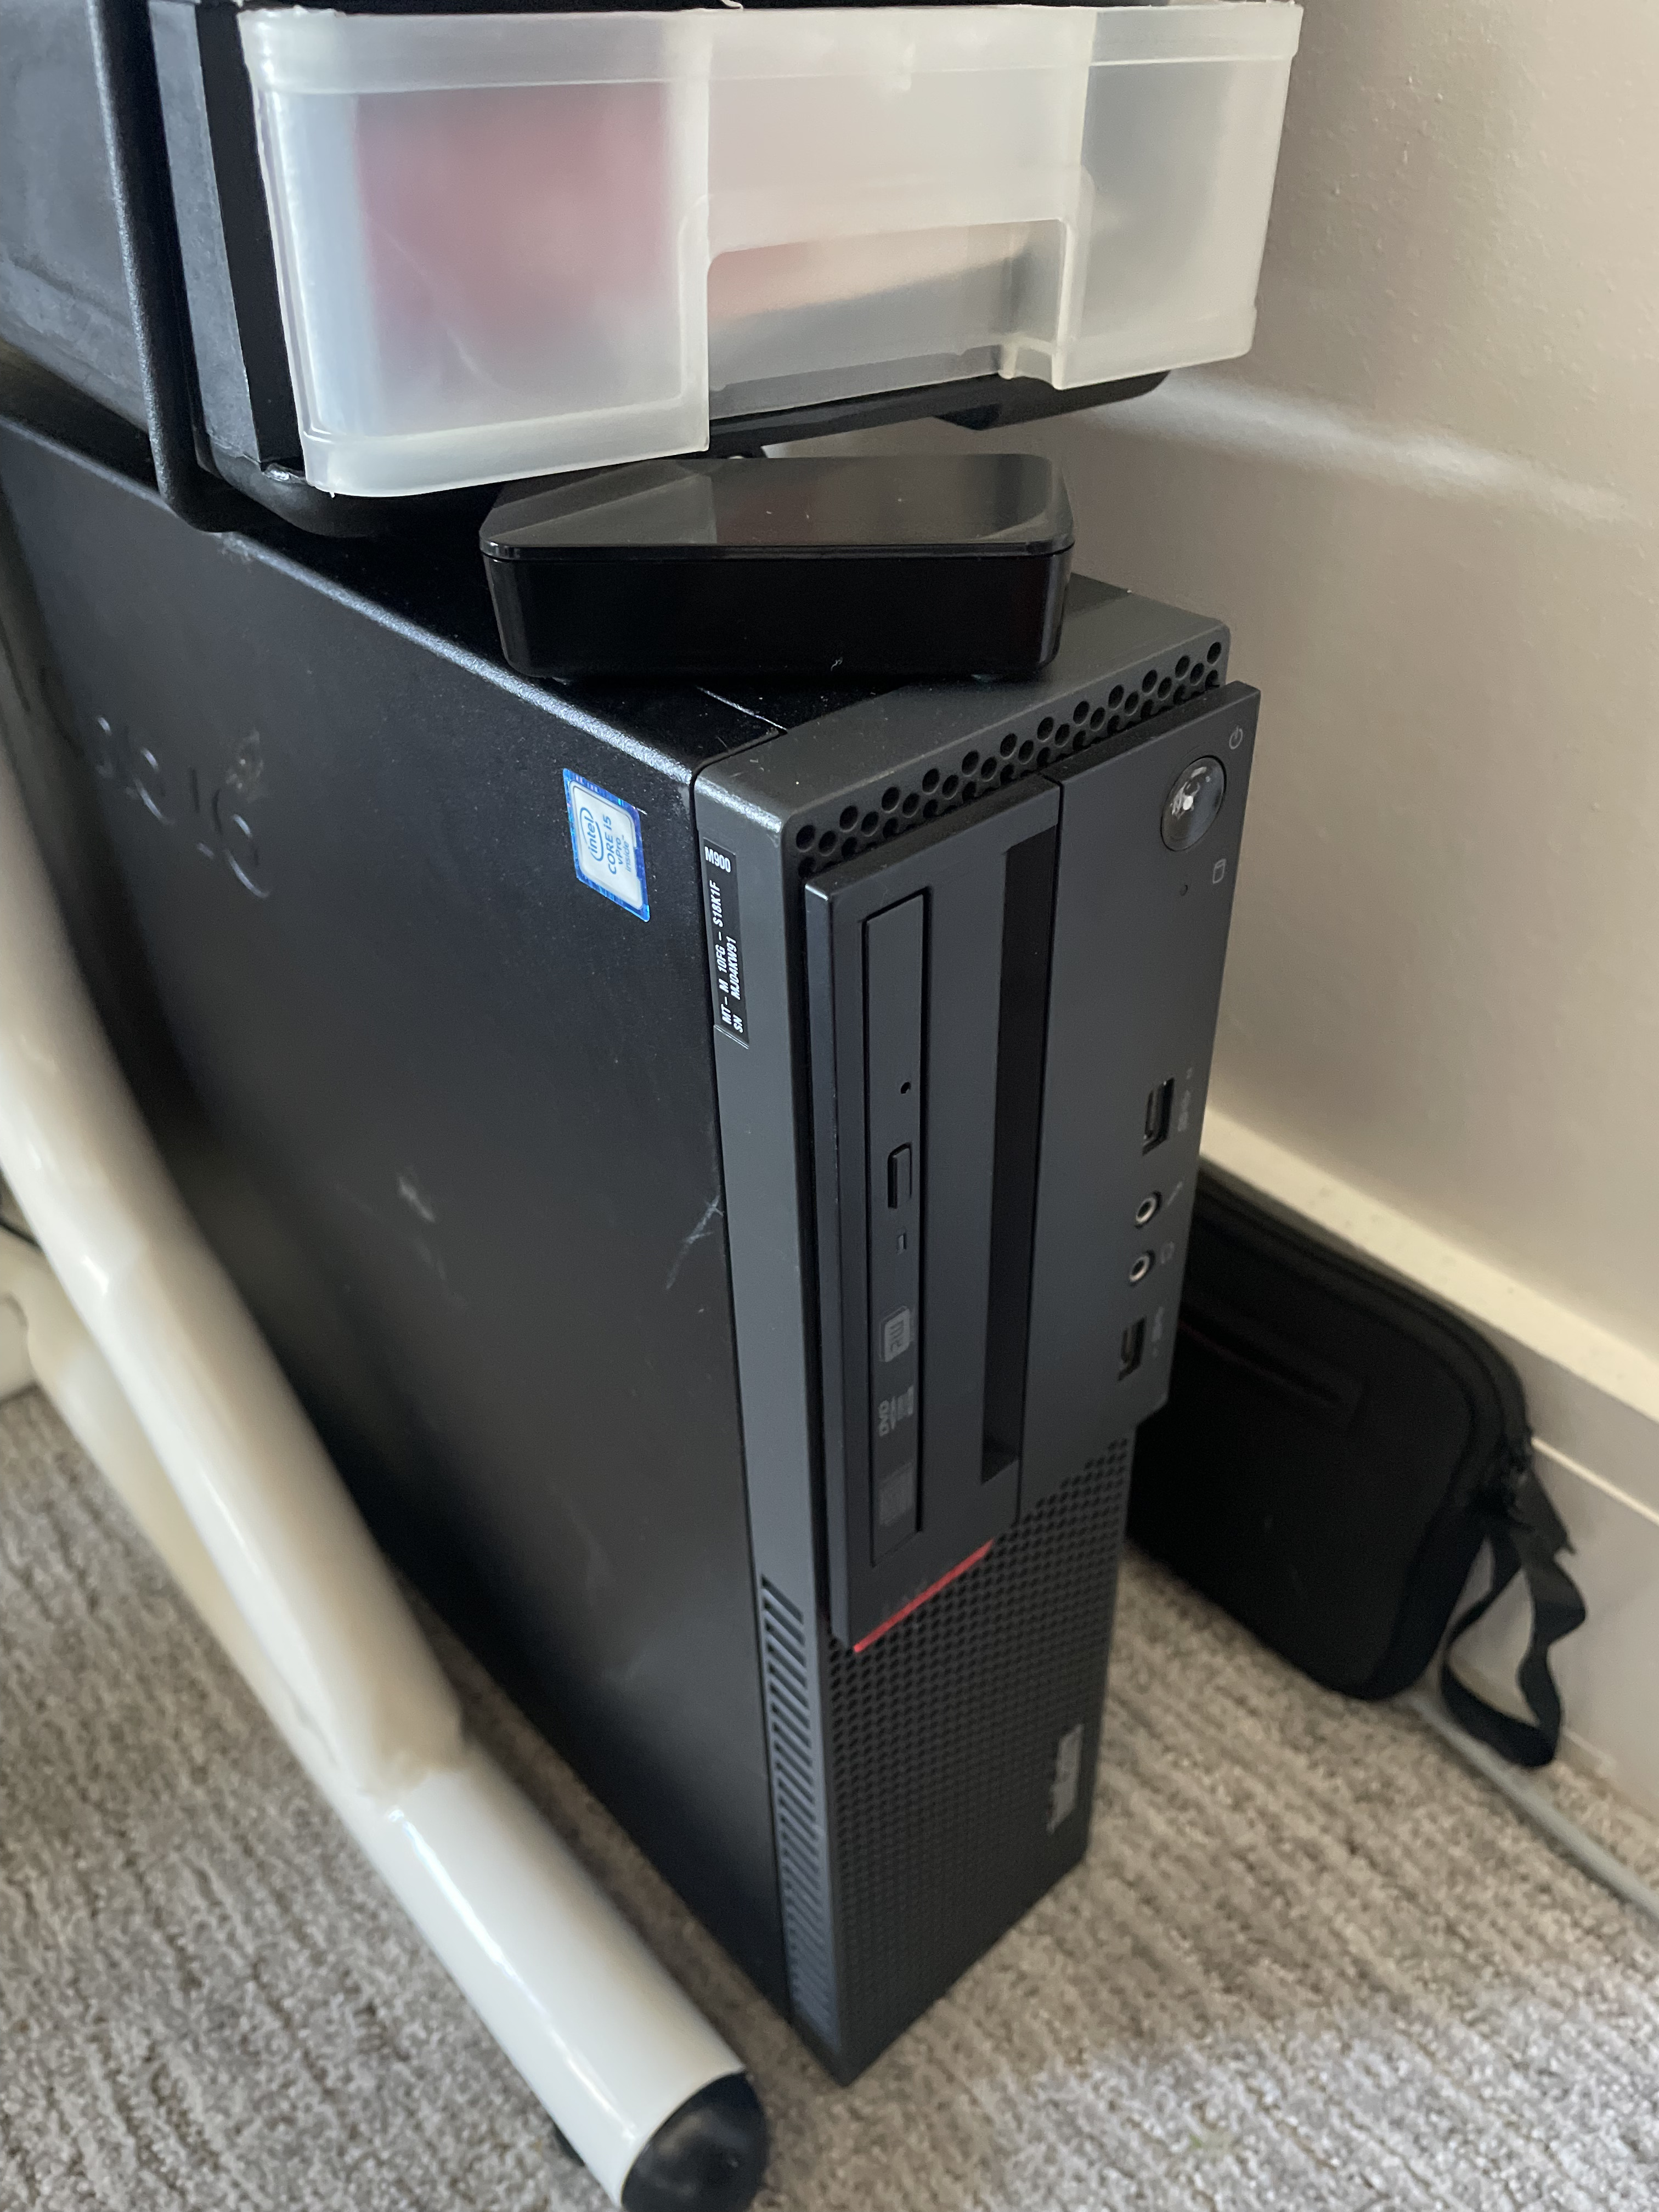
- - Lenovo ThinkCentre M900 SFF: The VM server.
- - Proxmox: A bare-metal hypervisor running on the M900.
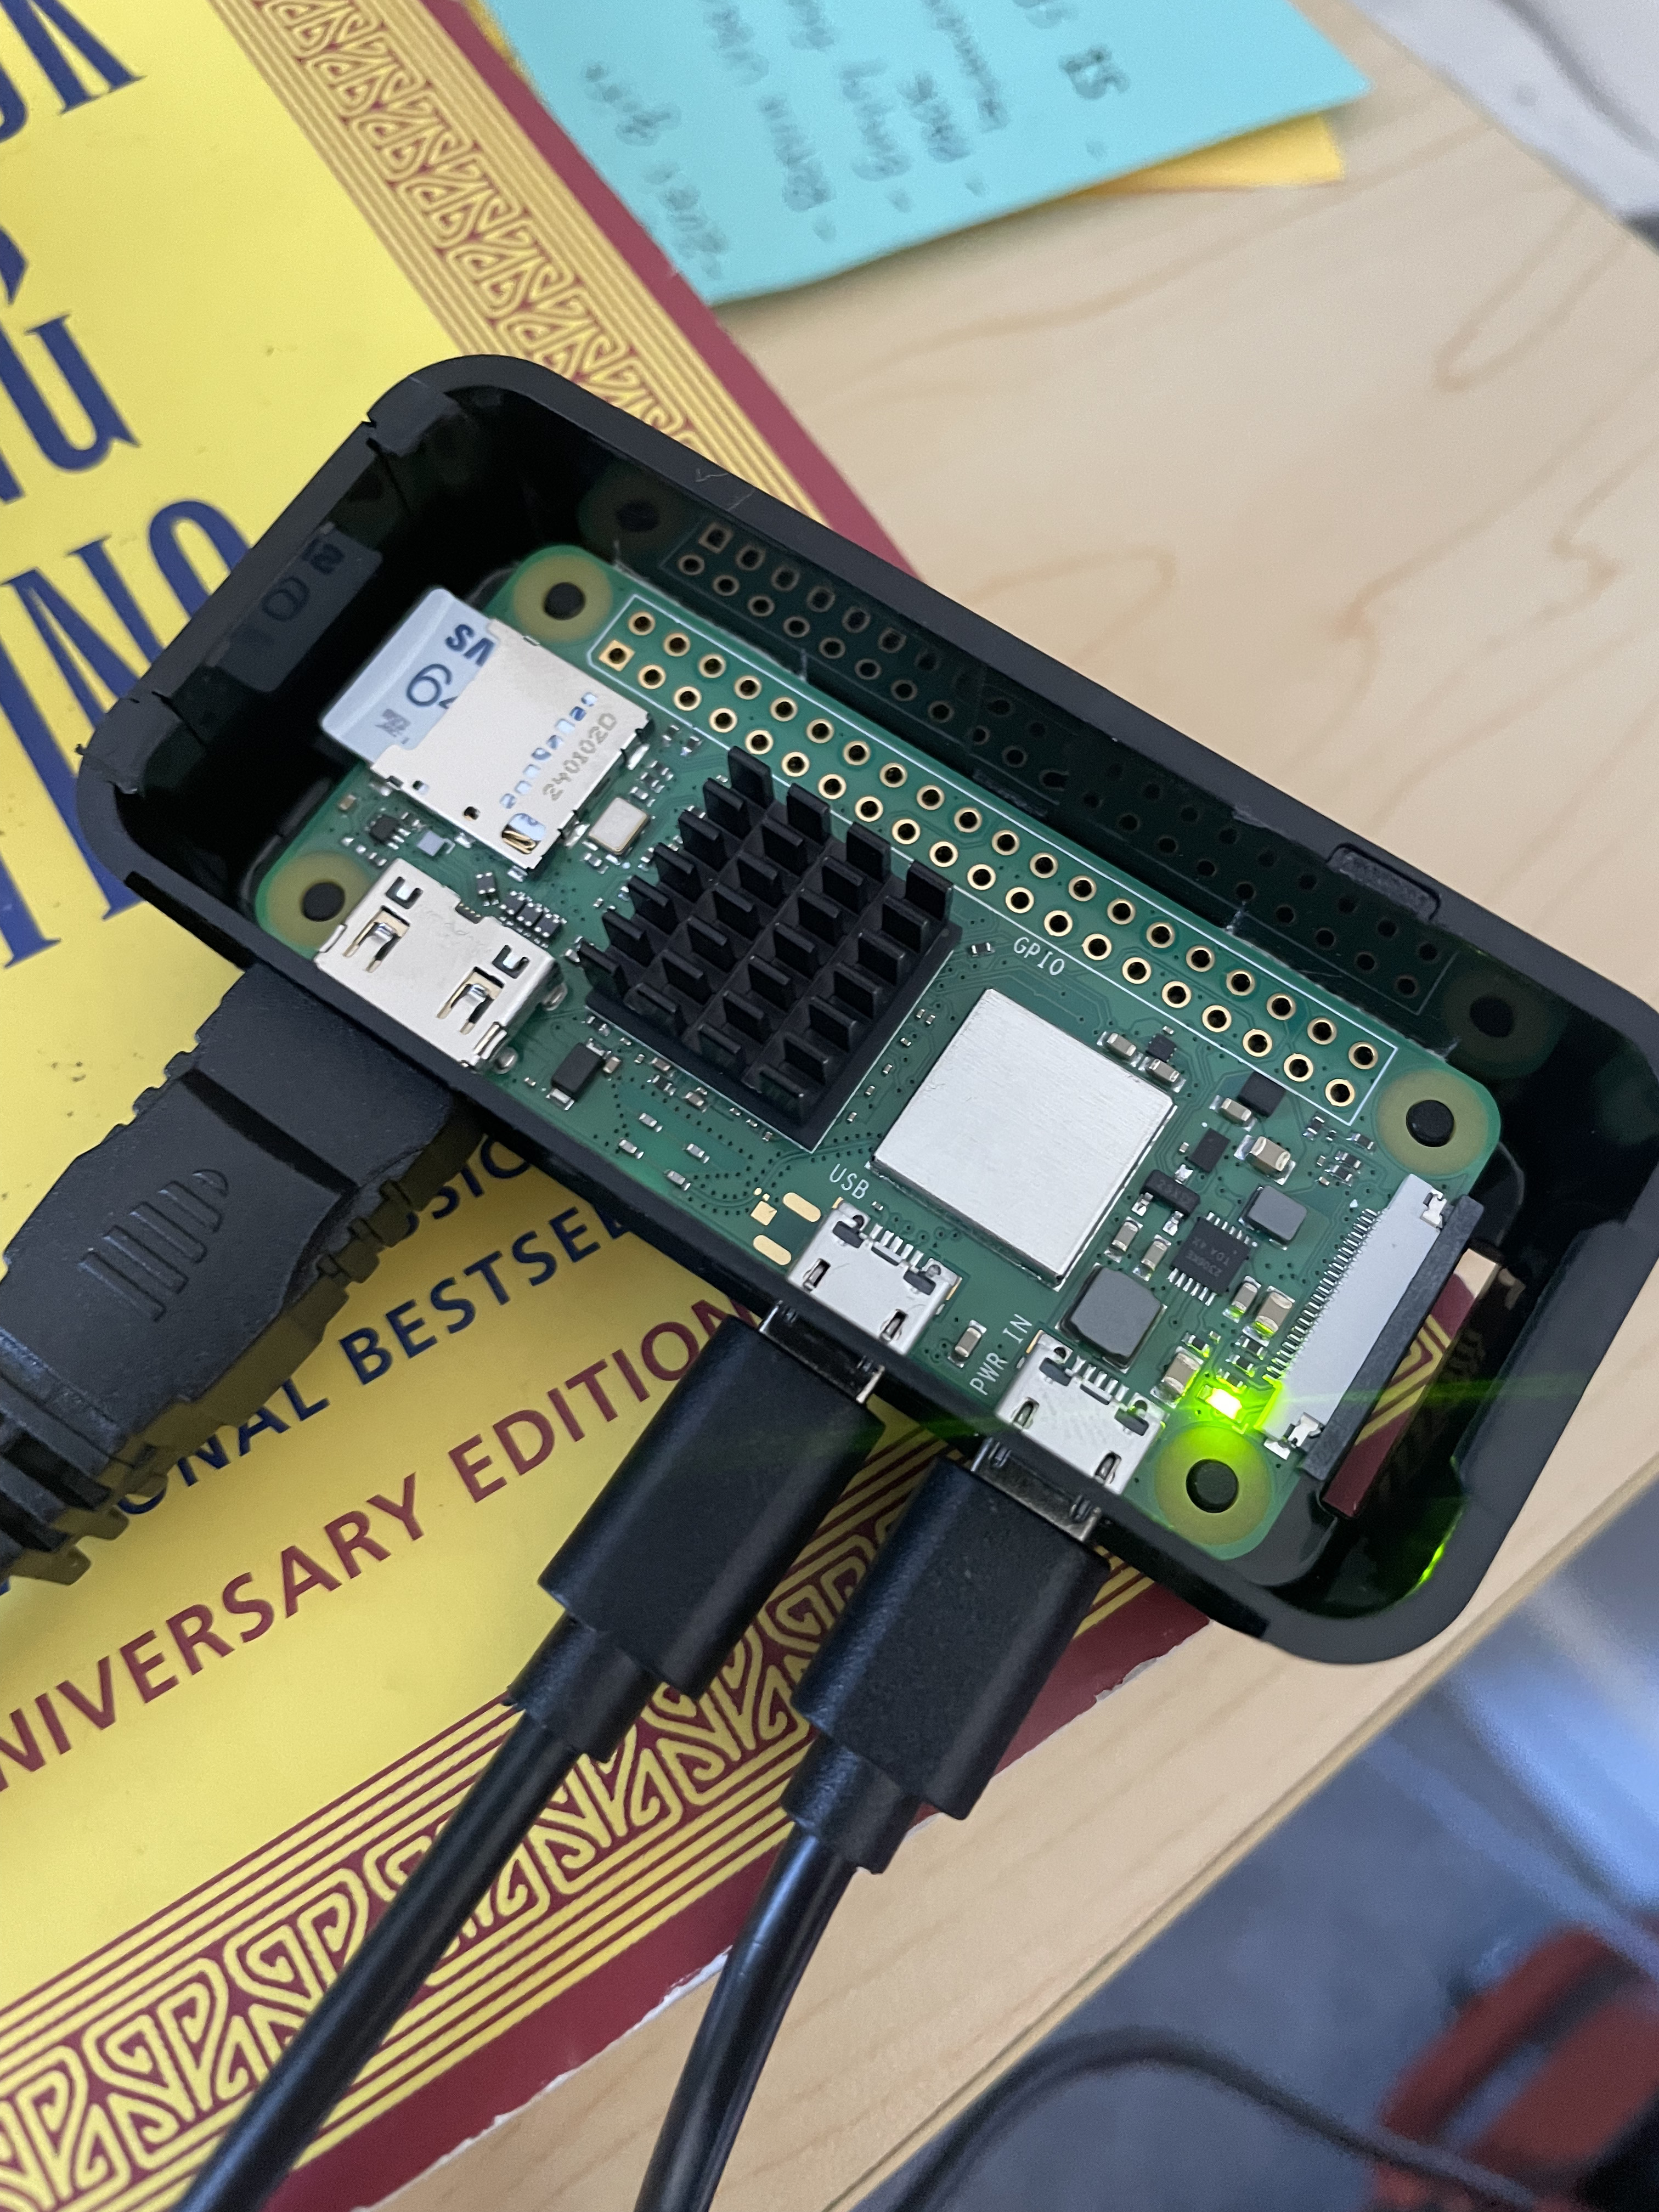
- - Raspberry Pi Zero 2 W: Enables remote power control of the M900 by existing as a "remote".
- - MacBook Pro: My primary device for accessing the lab.
- - Tailscale: A mesh VPN service for secure remote access to the lab.
Choosing the Components
The Lenovo ThinkCentre M900
I found a refurbished Lenovo M900 Small Form Factor (SFF), which was great because it offered excellent value and upgradeability. Out of the box, it came with 16GB of memory and 256GB of storage, doubling my MacBook's specs in both categories. Plus, it supports upwards of 64GB of memory and several terabytes of storage. If I ever want to dedicate a VM to gaming, I can install a GPU as well. Lenovo's reputation for reliability made this a clear choice.
Proxmox Hypervisor
Deciding on a bare-metal hypervisor came down to two contenders: Proxmox and VMware ESXi. Recent changes to VMware's free tier—including a 60-day trial limitation—made Proxmox the more attractive choice. Proxmox is free, open-source, and has an active community, making it an excellent tool for my purposes.
Remote Power Control with Raspberry Pi
One challenge was finding a way to remotely power the server on and off. Leaving it running 24/7 would waste energy and increase costs. Research led me to use a much smaller Raspberry Pi to send a "Wake-On-LAN" (WoL) packet to the server, allowing me to turn it on remotely. The Pi's low power consumption makes it ideal for this purpose.
Remote Access with Tailscale
Proxmox's web-based interface is accessible through a private IP address, which is not exposed to the internet, for security reasons. To access the lab remotely, I needed to create a secure connection to my local network. Tailscale, a peer-to-peer VPN solution, solved this problem. By setting up Tailscale on all my devices, I can securely access my homelab from anywhere as if I were on my home network.
Workflow

With everything configured, my workflow looks like this:
- - Open Tailscale on my MacBook to connect to my virtual LAN.
- - SSH into the Raspberry Pi to send a WoL packet to the M900.
- - Access the now online Proxmox web UI to manage or use my VMs.
This setup allows me to harness the power of a desktop's resources while maintaining the portability of my laptop. Whether I'm learning, experimenting, or working, I've built a system that supports my needs wherever I go.
TL;DR

To overcome the hardware limitations of my MacBook, I set up a refurbished Lenovo M900 desktop with Proxmox to run VMs. I added a Raspberry Pi for remote power control and Tailscale, a mesh VPN, for secure remote access. This homelab lets me work flexibly, and in the process, gain valuable hands-on IT experience.