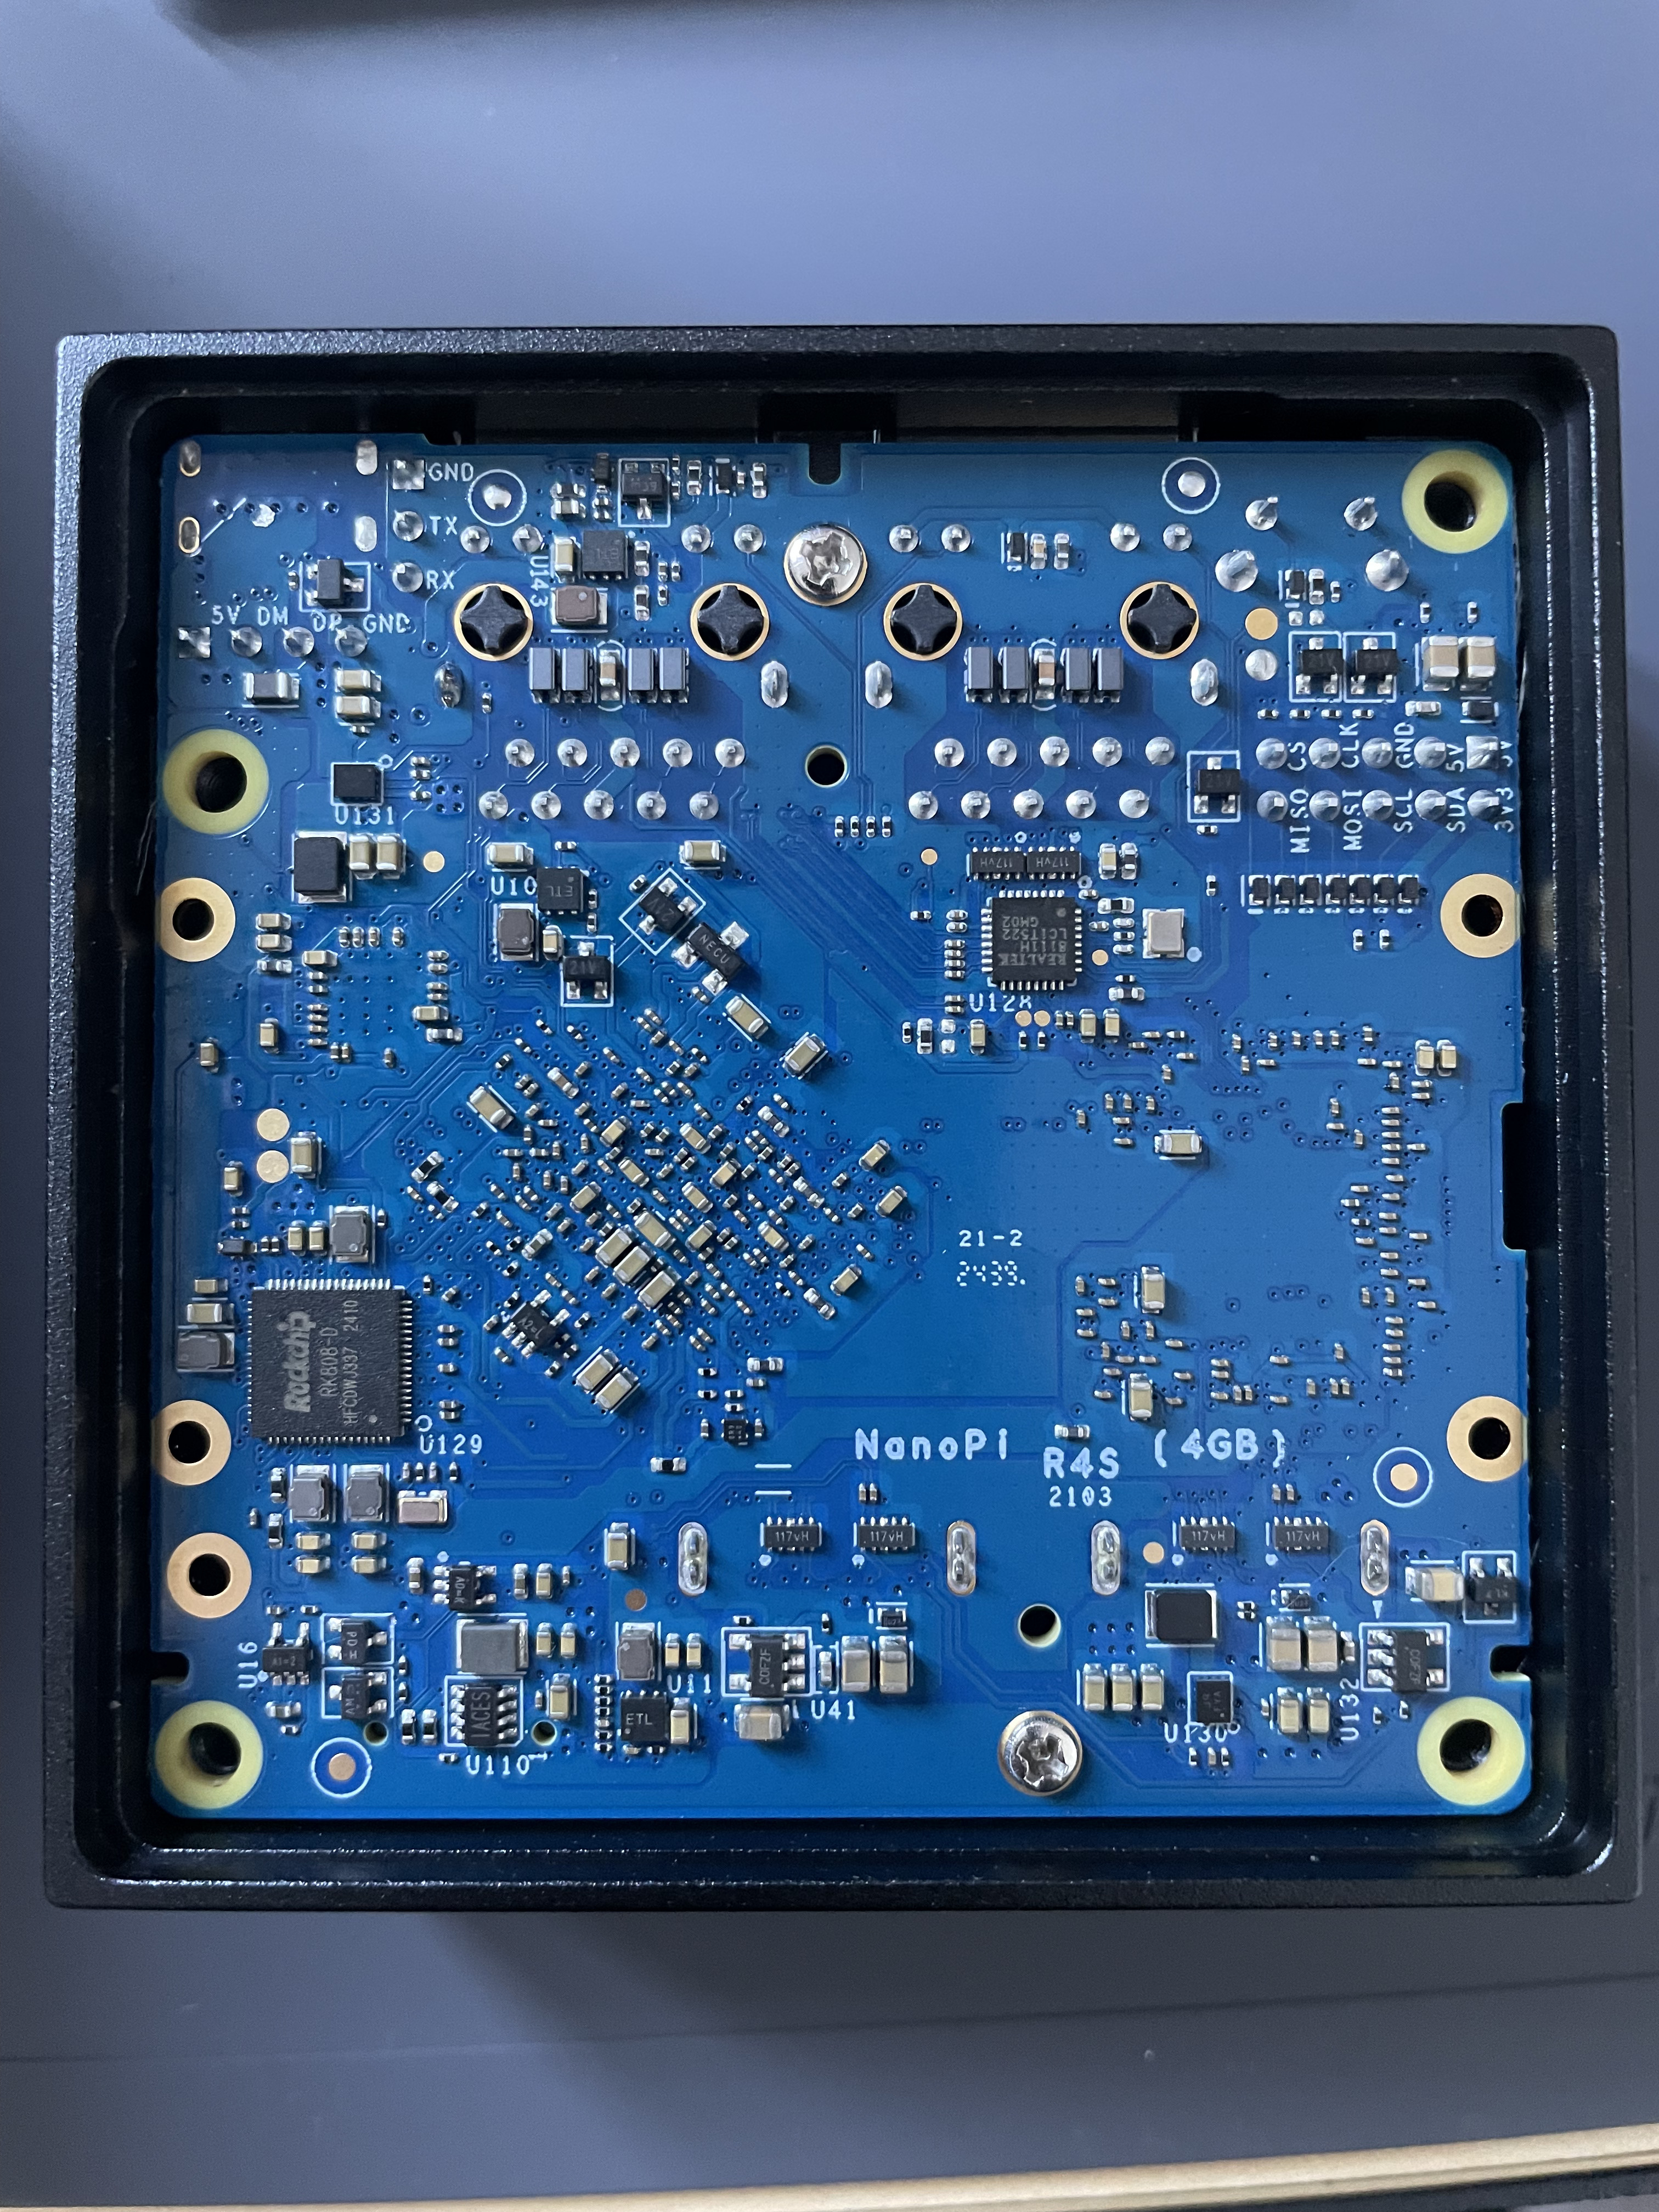
I recently found out what a Pi-hole was and figured it would be a fun project to undertake! Pi-hole is a piece of open soure software that handles blocking DNS queries for you based on blocklists you provide it. Here was my experience setting it up in my home network:
Initial Steps of the Project:
- 1. ChatGPT Research
- 2. Verify & Correct the Required Steps & Hardware
- 3. Day of Hardware Arrival: Begin install!
The Installation
1. Flashing an Operating System
Since Armbian is lightweight and designed for IoT-type devices, I decided to use it for my NanoPi R4S, which is the Raspberry Pi-like device I was using for this project. Flashing the OS was pretty straightforward -- I used the Raspberry Pi Imager if you're curious.
2. Connecting via SSH, Updating, & Installing Pi-hole
Once I had SSH access, I updated and upgraded the system, then installed Pi-hole for network-level ad and tracker blocking.
How Pi-hole Works:
- 1. When you visit a webpage, ads load in the background by sending requests to ad-serving websites (like Google Ads and Amazon Ads).
- 2. The Pi-hole sits as a filter before any requests go out to the wider internet. It checks it's blocklists to see if anything matches, and if it does it drops the request. This results in no ads being served!
- 3. If the request has a URL not found in it's blocklist, it then checks it's cache if it already knows the URL. This would result in a speedy delivery of the IP address you want, but if not, then it sends the request out like normal.
3. Setting my Router's DNS to NanoPi —- But There's a Problem
This was the step where I was supposed to configure my router to use the NanoPi/Pi-Hole as the primary DNS, but my ISP's router didn't allow manual DNS configuration.
Solution: Tailscale! But, more on that later. And actually, you might be asking what a DNS is at this point.
4. Installing Unbound for Local Recursive DNS Resolution
DNS stands for Domain Name System. Normally, when you request a URL, a series of DNS queries occur:
- 1. Your device asks a DNS server, "What is the IP of google.com?"
- 2. That DNS server may need to ask other DNS servers through a series of "do you know the server that knows...", eventually reaching the authoritative DNS server for the domain.
- 3. The authoritative server, the one that knows the actual answer to my query, provides the IP address (e.g., `8.8.8.8`), and then your request is completed and sent back to you, thereby allowing you to request the webpage you wanted!
With Unbound, I could perform these queries directly and find the authortitative server on my own device, reducing reliance on the intermediary third-party DNS servers.
5. Adding a Firewall & VPN (And Dealing with ChatGPT's "Hallucinations")
ChatGPT had thrown the idea of potentially using this same NanoPi as a VPN & a firewall too, since it came with two ethernet ports. Some of the specifics of ChatGPT's plan were inaccurate, so after some of my own research, I came to two conclusions:
- - UFW (Uncomplicated Firewall) for basic firewall rules.
- - Tailscale, which meant including the NanoPi in my pre-existing tailnet and using Tailscale's Mullvad VPN exit node add-on!
Mullvad's VPN setup was simple -- just a few clicks after subscribing, and I could route any traffic from my tailnet through their servers.
You can never fully trust these LLMs. While setting up UFW, I had to open specific ports for Pi-hole's web UI and Tailscale. This was a fun learning experience -— much more enjoyable than my later experiments with iptables. (Small foreshadowing!)
The Project Was a Success! (Until…)
At this point, I was happy. Pi-hole and Unbound worked great, I had a functional software firewall, and as a bonus, I even looked into and bumped my router's firewall setting from "Low" to "Medium."
Then came an issue.
The Unexpected Network Problem
The cabling in my apartment has been a mess since I moved in. When I asked management to fix it, they said, "Not our responsibility, it's the ISP." When setting up my VM server, I had to go through seven trial-and-error attempts to find the right Ethernet cable in my media closet. Not fun -— but the very last one worked!
Since I wanted my VMs to have a stable connection, I couldn't rely on the cheap USB Wi-Fi dongle the computer came with. My NanoPi was supposed to help by providing that extra LAN port, as it had taken the spot that the Ethernet cable previously occupied on my router. Except... when I plugged in the Ethernet cable to connect my VM server through the NanoPi, it didn't work.
So, my project suddenly had a new phase: troubleshooting my home network. One simple Google search was not going to be enough…
Stay tuned for Part 2, where I dive into diagnosing and fixing this unexpected networking challenge!