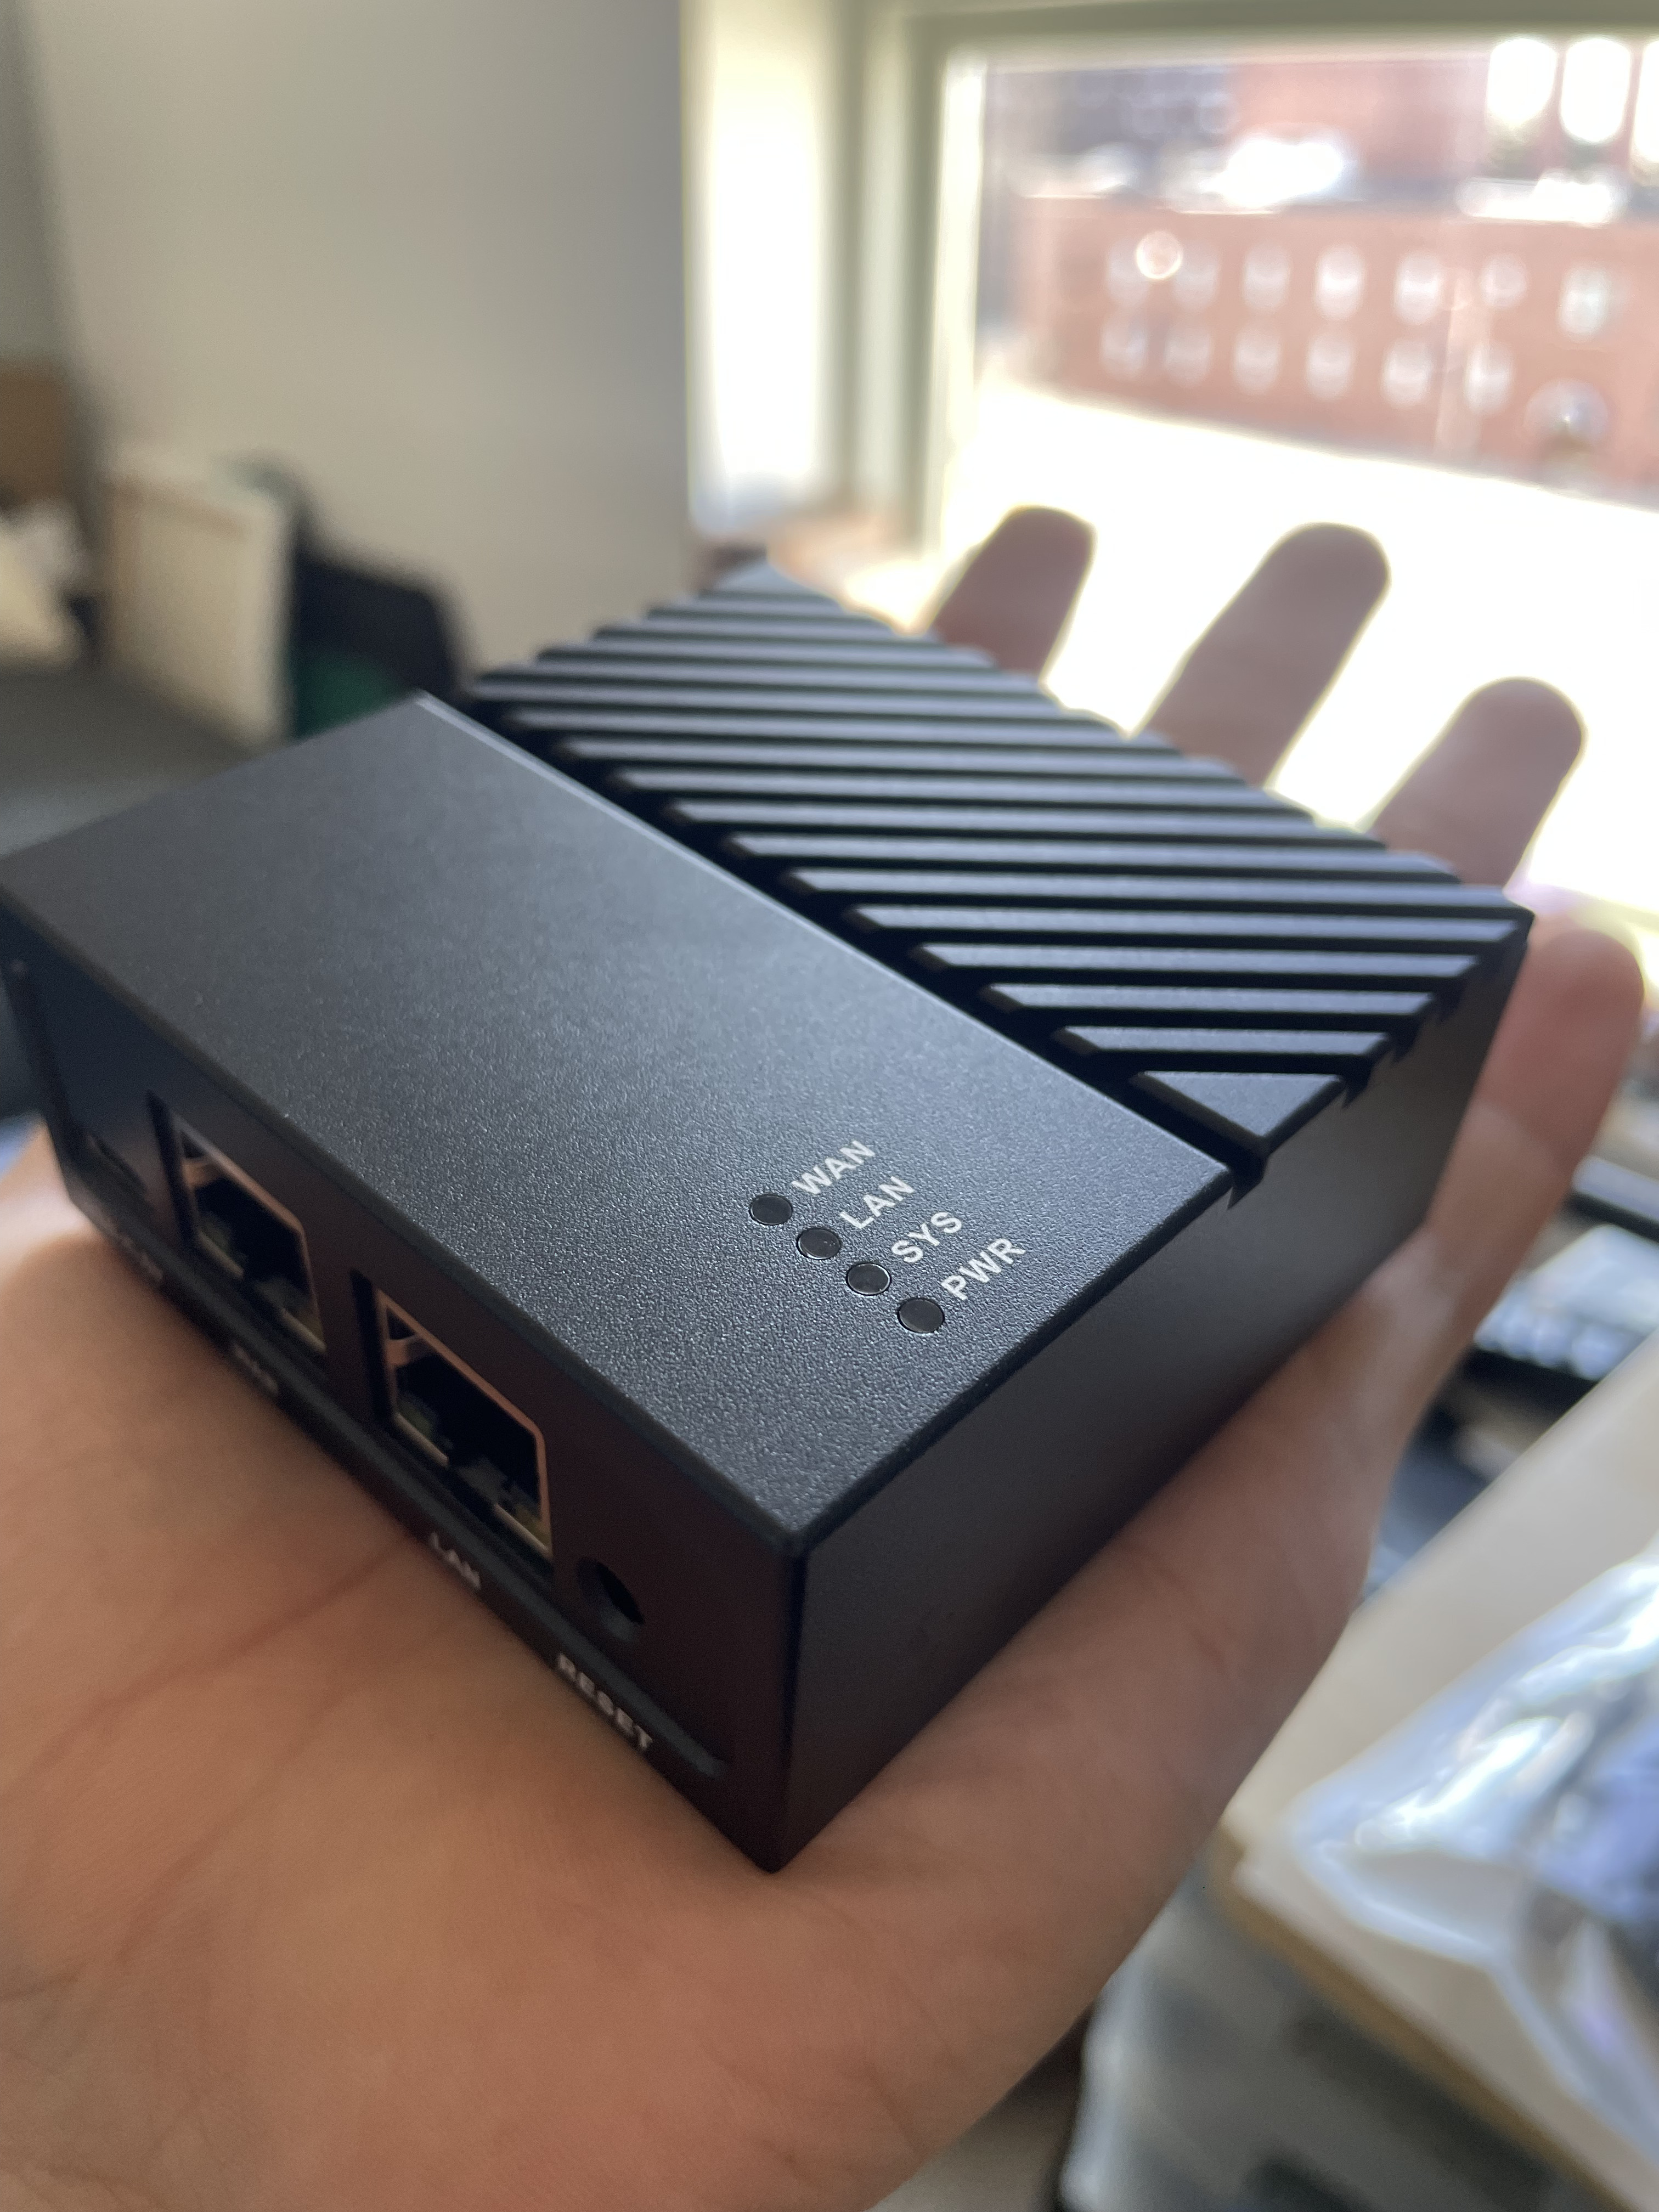
With my NanoPi (which has Pi-hole, Unbound, and UFW set up) running smoothly, it was time to figure out how to get an Ethernet connection to my VM server amidst the mess that was my apartment's network cabling. I could call my ISP and have them send a technician over, but where would the fun in that be?
(If you haven't yet, check out Part 1 here!)
Diagnosing the Network Issue
First, I made sure the Ethernet cables themselves weren't the issue. They were brand new, but it was worth testing them on a known-good device. Moving forward, I wasn't exactly sure what to do -- but ChatGPT is great at getting the ideas rolling, even if it does hallucinate at times. With a "treat failures as lessons" attitude, I started bouncing between GPT-based suggestions, Googling documentation, and reading forum posts.
Funnily enough, I had the names of the interfaces for each port mixed up at first. After some deductive reasoning, I realized that the one without an IP address was probably the LAN port on the NanoPi causing my connectivity issues. Manually setting it with `ip addr add` got me my first step towards something. Now I was able to ping from and to my VM server -- my first wins in this troubleshooting process!
Enabling Internet Access for My VM Server
Now I knew my VM server had connectivity to my LAN (Local Area Network), but it still didn't have access to the internet (WAN, or Wide Area Network). On the VM server, I used `ip route` to check, and I didn't see my NanoPi's LAN port IP address listed as a default gateway. Setting it manually with `ip route add default via . . .` did the trick—voila! My VM server now had internet access.
Next, I needed to test if these configurations persisted after a reboot. Annnnnd. . . it didn't.
The Proxmox Virtual Bridge Solution
I quickly realized that I had to set all of this up through my virtual bridge interface within the VM server, not the physical Ethernet interface. This is because the VMs inside the server needed internet access too, and Proxmox uses the bridge as the primary network source. Speaking of which, I had to check if my VMs were now getting internet access.
They weren't. But after turning on IP forwarding, editing iptables rules, and setting static IP addresses and gateways in my `/etc/network/interfaces` file on the VM, I finally solved the issue, and in a way that would persist after reboot. I'll have to repeat this setup on any particular VM I want to access the internet, but that's not a big deal -- I've gained plenty of reps doing it now, and it's not like every single VM will need that anyway.
What I've Gained & Final Thoughts
At the end of this project, I can confidently say I've gained a lot and feel way more experienced. Written out, it all seems so simple, but in the moment, I was definitely scratching my head and feeling beat up at points. I wrote down every step I took and command I input, constantly having to manually "ctrl + z" when things didn't go as planned. Especially rough was when something worked, but when I went to duplicate it after reboot, something else broke. As mentioned, though, each failure was just a lesson, and I came out better for it.
Now, I have:
- - Network-level ad and tracker blocking with Pi-hole
- - Local recursive DNS resolution with Unbound
- - Functioning firewalls between my router, UFW, and iptables
- - An optimized tailnet, with a bonus of Mullvad VPN access, allowing me to securely enjoy all these perks from anywhere
- - A better understanding of the troubleshooting process, as well as added familiarty with the command line!
This was a win on every layer.